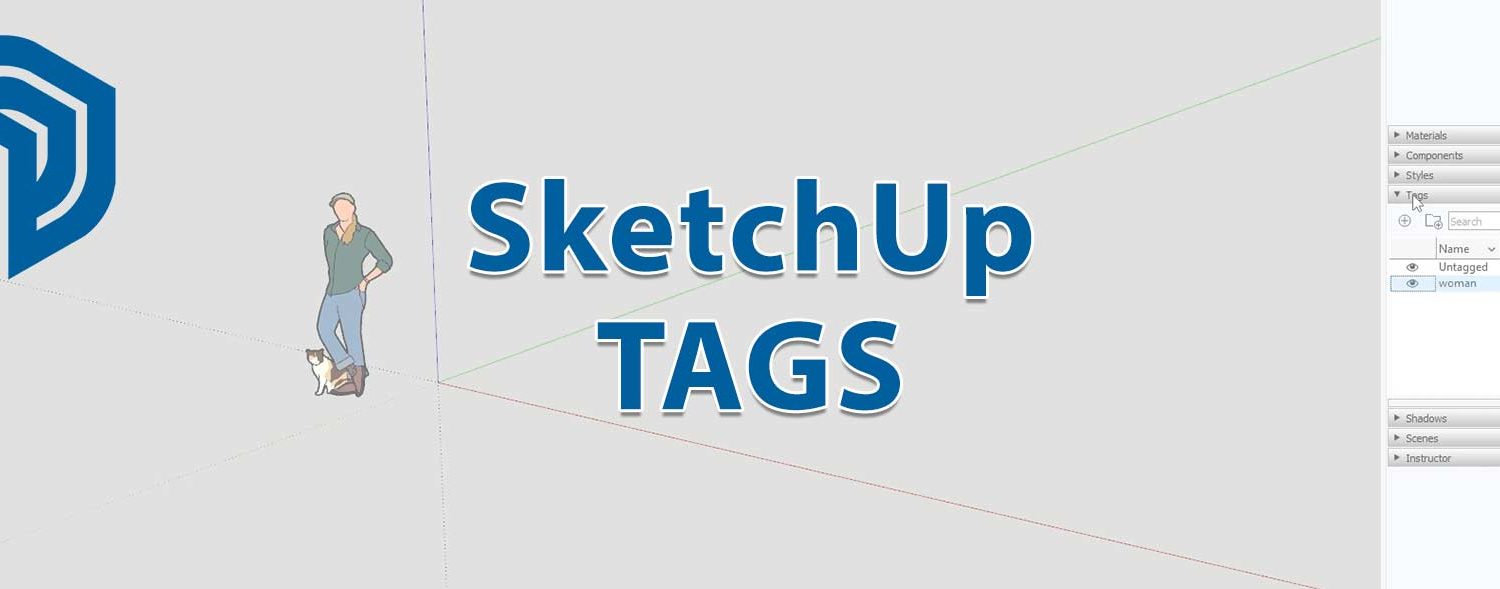
Sketchup Tags: Organizing and Visibility
SketchUp Tags: Organizing and Controlling Visibility. If you are a SketchUp user, whether a beginner or a seasoned professional, understanding SketchUp Tags is essential for streamlining your workflow. Formerly known as Layers, Tags are the backbone of model management, allowing you to control complex geometry with simple clicks.
What Are SketchUp Tags? (And What Happened to Layers?)
If you have been using SketchUp for a while, you might remember the old “Layers” system. In recent versions, SketchUp replaced Layers with Tags . While the name has changed, the core functionality remains familiar but with significant improvements.
Tags help you organize the objects in your SketchUp model and control their visibility. Instead of selecting each object individually to hide or show them, Tags allow you to group similar items—like “Furniture,” “Walls,” or “Electrical”—and toggle their visibility in one click . This not only makes your workspace cleaner but can also speed up SketchUp’s performance by hiding large chunks of the model while you work on specific areas.
The Golden Rule: Tags, Groups, and Components
Before diving into the “how,” it is crucial to understand the “where.” One of the most important best practices in SketchUp is to only apply Tags to Groups and Components, never to raw geometry (like individual edges or faces).
- Why? If you apply a Tag to a raw face and later draw on top of it, SketchUp might create “sticky geometry” that is hard to manage.
- Best Practice: As you build your model, group everything—walls, floors, furniture, lighting . Then, apply your Tags to those groups. This keeps your model predictable and much easier to edit later.