Loop cut and slide in Blender 5
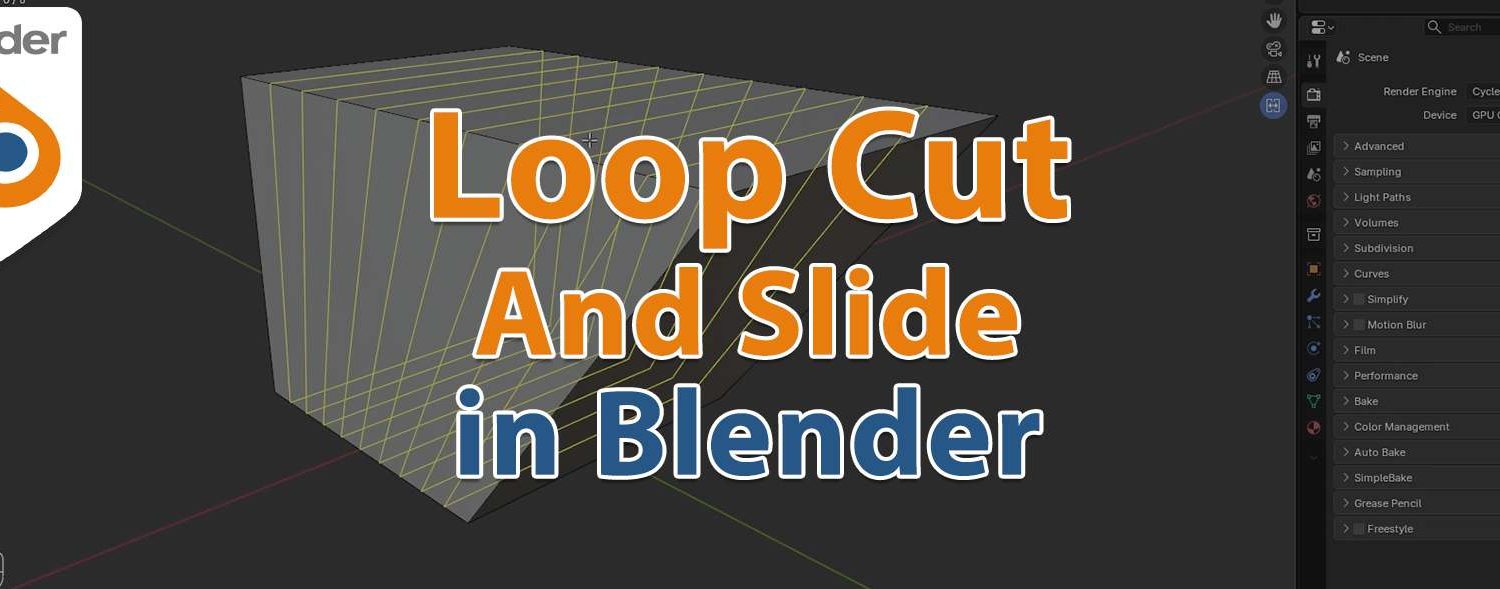
Loop cut and slide in Blender tutorial. Loop Cut and Slide splits a loop of faces into two or more parallel loops. The new edges are created in the middle by default, but you can also slide them closer to a side.
Usage
The tool is interactive and has two steps:
- Choose the face loop to cut After activating the tool, move the cursor over an edge through which the cut should pass (that is, an edge that’s perpendicular to the cutting direction). Blender shows a yellow line previewing the cut that will be made. Click LMB to confirm and move to the next step, or RMB to abort.
- Slide the new edge loop(s) You can now move the mouse to change the position of the new edge loop. Click LMB to create the cut at the chosen location, or RMB to create it at the center.
These options are available while the tool is in use, and later in the Adjust Last Operation panel.
More information: Loop cut and slide