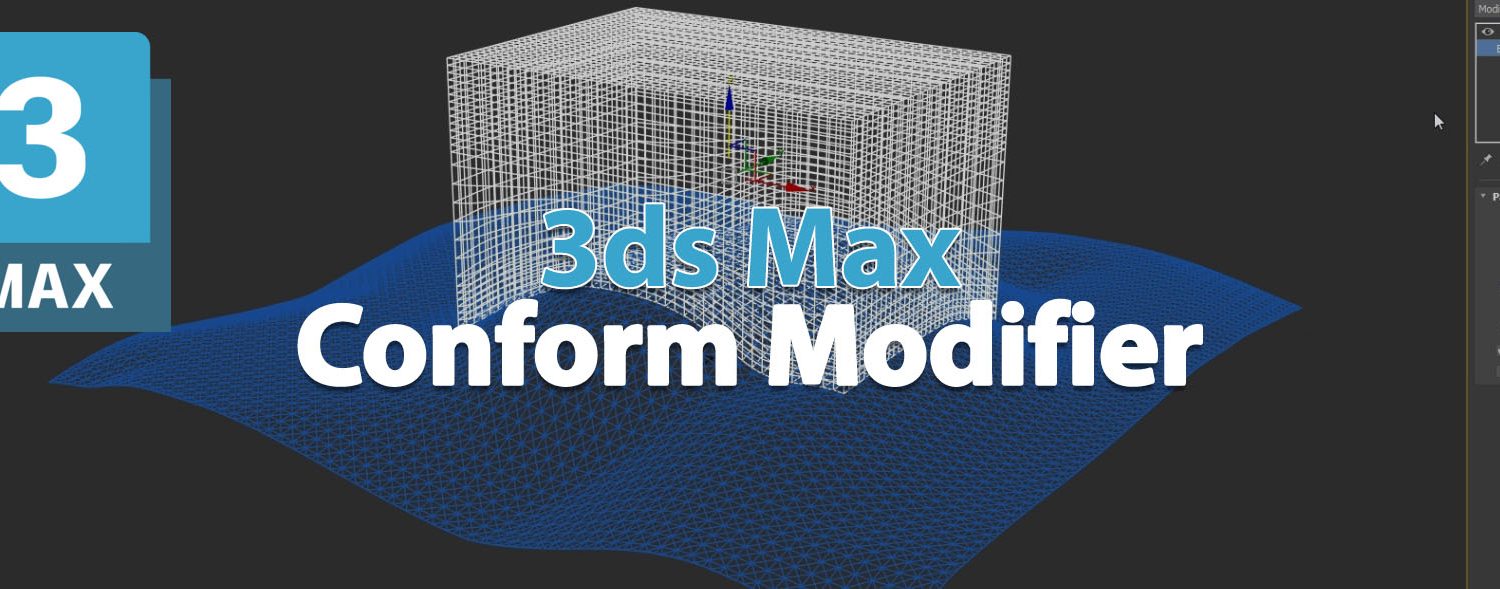
3ds Max Conform Modifier – How to Use
The Conform Modifier in 3ds Max is a useful tool for aligning one object to the surface of another. Here’s a brief overview of its features and how to use it:
Overview
- Purpose: The Conform Modifier allows an object (like a mesh) to conform to the surface of another object. This is particularly useful in scenarios like fitting a piece of clothing to a character model or placing objects on uneven terrain.
Key Features
- Source and Target: You can set a source object (the one being conformed) and a target object (the one providing the surface).
- Precision Control: Adjust settings to control how closely the source object conforms to the target.
- Interactive Adjustment: You can visually see the conformance effect in real-time as you adjust the parameters.
How to Use the Conform Modifier
- Select the Object: Choose the object you want to conform.
- Apply the Modifier: Go to the Modifier List and select Conform.
- Set Target Object: In the modifier’s parameters, choose the target object that the source will conform to.
- Adjust Settings: Fine-tune settings like offset and strength to achieve the desired effect.
- Preview: Use the viewport to see how the object conforms in real time.
Tips
Stack Order: The position of the Conform Modifier in the modifier stack can affect its results.
Mesh Quality: Ensure that the target object’s mesh is clean for better results.
Animation: The modifier can be animated, allowing for dynamic adjustments during animations.